Creamy Vanilla Custard Square
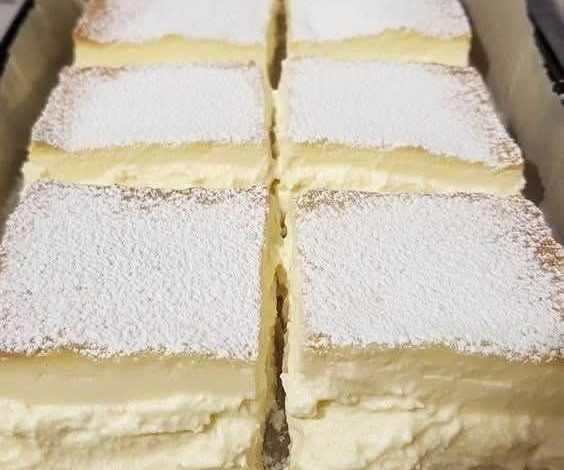
Vanilla Custard Cream Squares
These Vanilla Custard Cream Squares are an elegant, melt-in-your-mouth treat featuring a buttery, crunchy base paired with a silky, rich custard. Unlike store-bought puddings, this recipe uses the natural thickening power of egg yolks and cornstarch to create a dense, sliceable cream that holds its shape perfectly—no gelatin needed. It’s a delightful mix of simple pantry ingredients and luxurious texture.
Vanilla Custard Cream Squares
Ingredients:
For the Crust
- Graham cracker crumbs – 1 1/2 cups
- Unsalted butter, melted – 1/3 cup
- Granulated sugar – 1/4 cup
For the Custard
- Whole milk – 2 cups
- Heavy cream – 1 cup
- Granulated sugar – 3/4 cup
- Egg yolks – 5 large
- Cornstarch – 3 tablespoons
- Pure vanilla extract – 2 teaspoons
How to Make Vanilla Custard Cream Squares:
Step 1: Make the Crust
Mix graham cracker crumbs, melted butter, and sugar until the mixture resembles wet sand. Press firmly into an 8×8-inch baking dish lined with parchment paper. Chill at least 15 minutes.
Optional: Bake at 350°F for 10 minutes for a crunchier base.
Step 2: Heat the Dairy
In a saucepan over medium heat, combine milk and heavy cream. Heat until steaming with small bubbles around the edges—don’t boil. Remove from heat.
Step 3: Whisk Egg Mixture
In a separate bowl, whisk egg yolks, sugar, cornstarch, and vanilla until smooth and pale yellow.
Step 4: Temper the Eggs
Slowly pour the hot milk mixture into the egg mixture, whisking constantly to prevent scrambling.
Step 5: Thicken the Custard
Return the mixture to the saucepan. Cook over medium heat, stirring constantly, for 3–5 minutes until thick enough to coat the back of a spoon.
Step 6: Assemble and Chill
Pour custard over the chilled crust. Press plastic wrap onto the surface to prevent a skin from forming. Refrigerate at least 4 hours (overnight is best).
Step 7: Slice and Serve
Lift the custard from the pan using the parchment overhang. Slice into squares with a sharp knife, wiping between cuts for clean edges.