“This recipe has been my top pick this month—I’ve made it six times and it’s still just as good!”
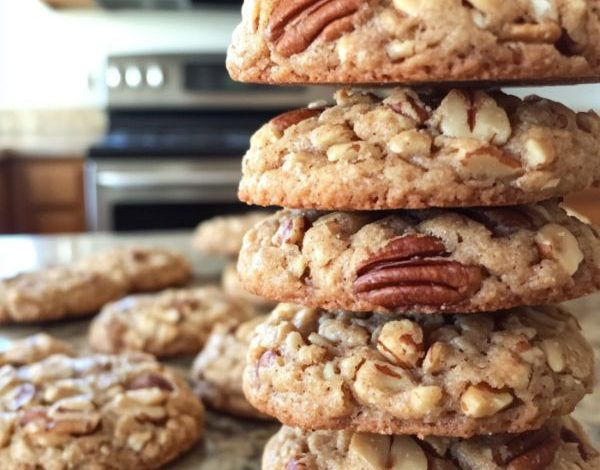
Pecan Sandies are a classic cookie loved for their crumbly texture and rich, buttery taste. Packed with finely chopped pecans, these cookies strike the perfect balance between simple and indulgent. Whether you’re assembling a holiday dessert spread or enjoying a cozy treat with your afternoon tea, Pecan Sandies are always a crowd-pleaser.
Ingredients for Perfect Pecan Sandies
Using quality ingredients is key to making the best Pecan Sandies. You’ll need:
| Ingredient | Quantity |
|---|---|
| Unsalted butter, softened | 1 cup |
| Granulated sugar | 1/2 cup |
| Powdered sugar | 1/2 cup |
| Vanilla extract | 1 teaspoon |
| All-purpose flour | 2 cups |
| Baking powder | 1/2 teaspoon |
| Salt | 1/4 teaspoon |
| Pecans, finely chopped | 1 cup |
Step-by-Step Instructions
1. Prep Your Oven and Baking Sheet
Preheat your oven to 350°F (175°C) and line a baking sheet with parchment paper to prevent sticking and ensure even baking.
2. Cream Butter and Sugars
In a large bowl, beat together the softened butter, granulated sugar, and powdered sugar until light and fluffy. This creates the tender texture Pecan Sandies are known for.
3. Add Vanilla
Mix in the vanilla extract until fully incorporated. It enhances the cookies’ flavor beautifully.
4. Mix Dry Ingredients
In a separate bowl, whisk together the flour, baking powder, and salt. Gradually add this mixture to the butter-sugar mixture, stirring until just combined. Be careful not to overmix.
5. Fold in Pecans
Gently fold in the chopped pecans until evenly distributed throughout the dough.
6. Shape Cookies
Form the dough into 1-inch balls and place them 2 inches apart on the prepared baking sheet.
7. Flatten Each Cookie
Press each ball lightly with the bottom of a glass or your hand to create the classic Pecan Sandies shape.
8. Bake
Bake for 15–18 minutes, until the edges are lightly golden. Be careful not to overbake so they stay soft and crumbly.
9. Cool and Enjoy
Let the cookies cool on the sheet for a few minutes, then transfer them to a wire rack. Once cooled, they’re ready to serve!